
Getting Started with AWS S3 Bucket for Hosting Your Static Website
Getting Started with AWS S3 Bucket for Hosting Your Static Website
AWS S3 Bucket: The Ultimate Choice for Secure and Cost-Effective Static Website Hosting

Most website development is shifting towards static websites that solely rely on HTML, CSS, and JavaScript, and do not require any server-side code to operate. As a result, there is no need to host these websites on a conventional server since there is no server-side code to execute.
Hosting a static website in an Amazon S3 bucket is a cost-effective and scalable solution for businesses that do not require complex web applications.
In Amazon S3, data is stored in buckets, which are essentially storage containers for files. These buckets are designed to provide a highly durable and available object storage solution, and unlike traditional file systems, they do not adhere to a hierarchical structure. Instead, the objects are stored flatly within the bucket.
Here are the steps to set up static website hosting in the AWS S3 bucket:
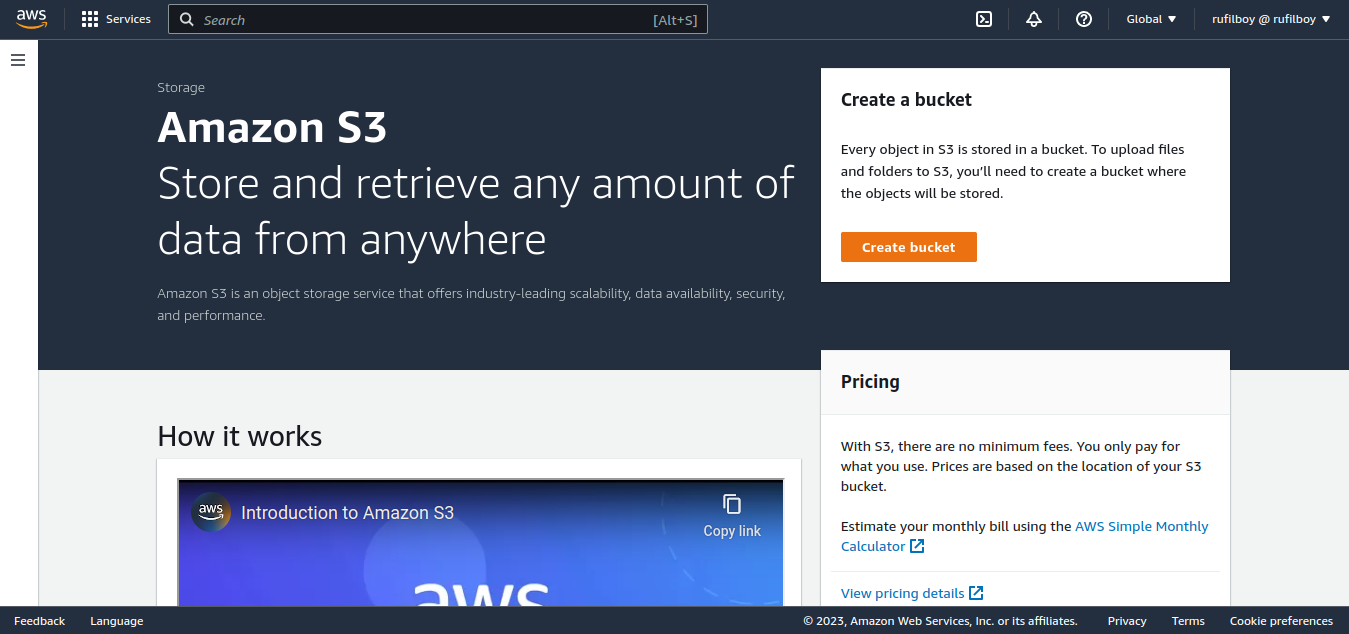
Create an S3 Bucket: Sign in to your AWS account and navigate to the S3 console. Create a new bucket or use an existing one.
Upload Website Content: Upload your website content, including HTML, CSS, and JavaScript files, to the S3 bucket. Make sure to set the correct object permissions.
Enable Static Website Hosting: In the Properties tab of the bucket, select the "Static website hosting" option. Enter the index document and error document names for your website.
Set Permissions: Go to the Permissions tab and update the bucket policy to allow public access to your website's objects.
Test the Website: Once you have uploaded your website content, you can test the website by accessing the S3 bucket's endpoint URL.
←DEMO→
Click on create bucket;
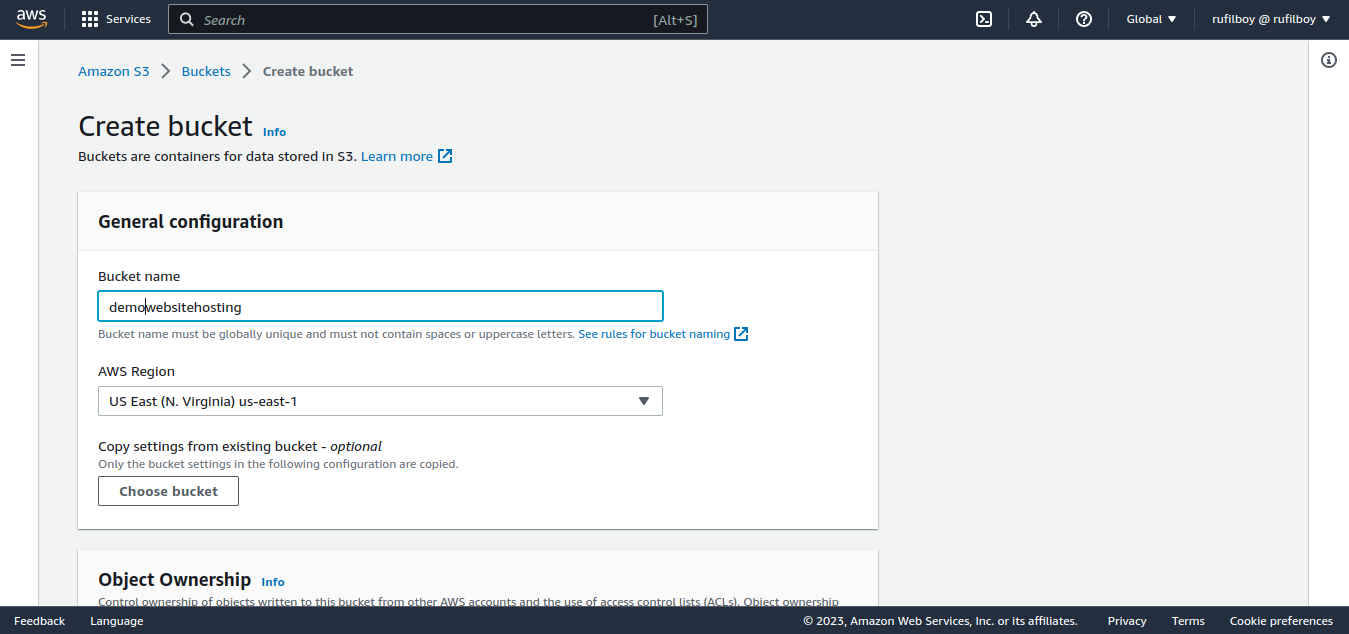
Name your bucket(note: your bucket name must be unique);
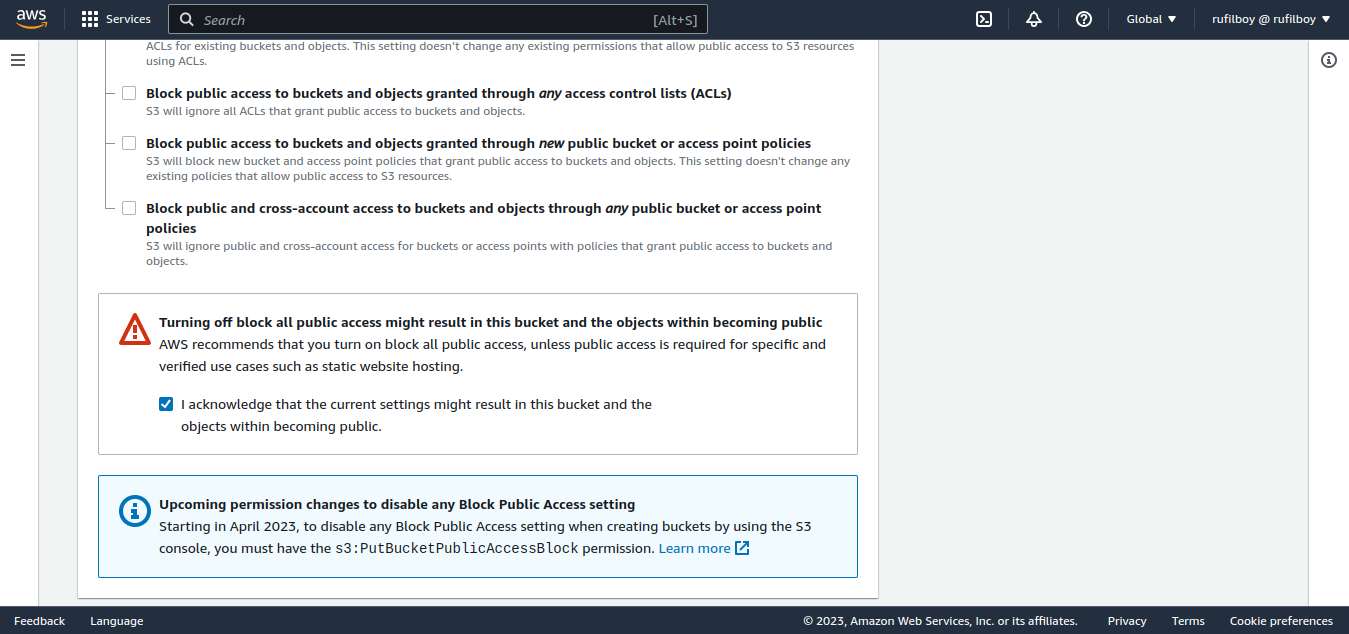
Uncheck “Block all public access”

Make sure to check this to acknowledge your doings🥳;
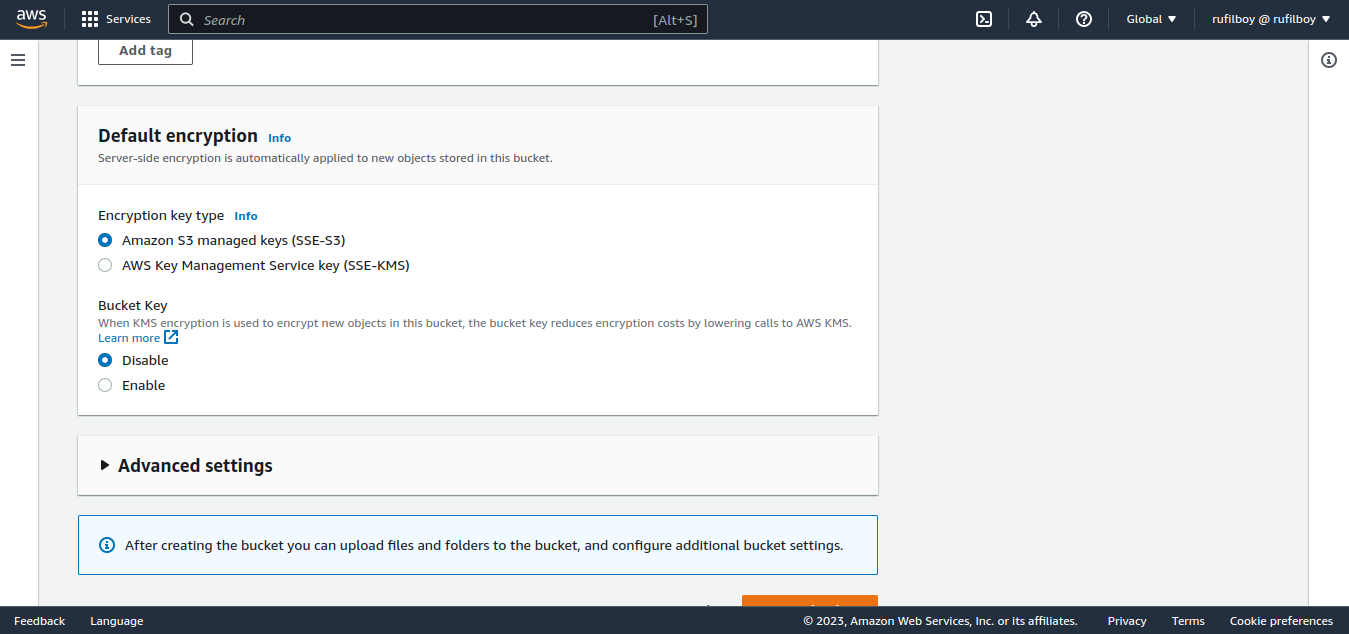
Finally, disable the “Bucket Key”, we’re not using any encryption for our S3 bucket and then click Create bucket.
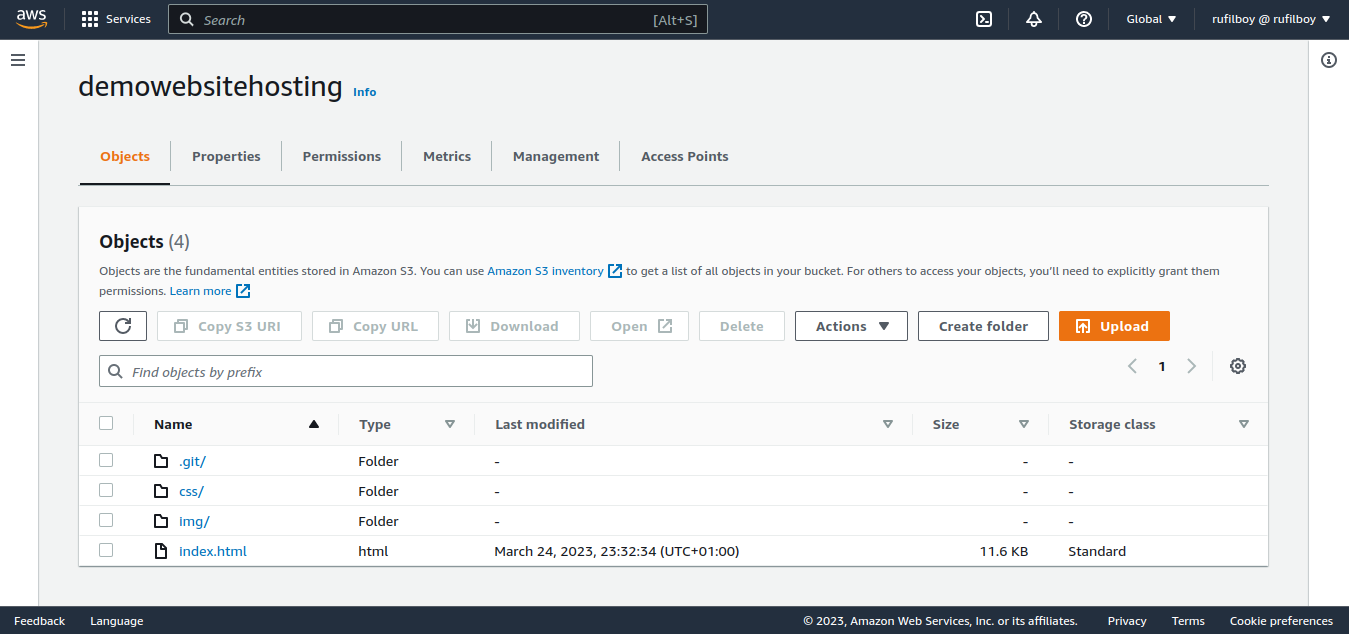
We’ve successfully created our bucket;

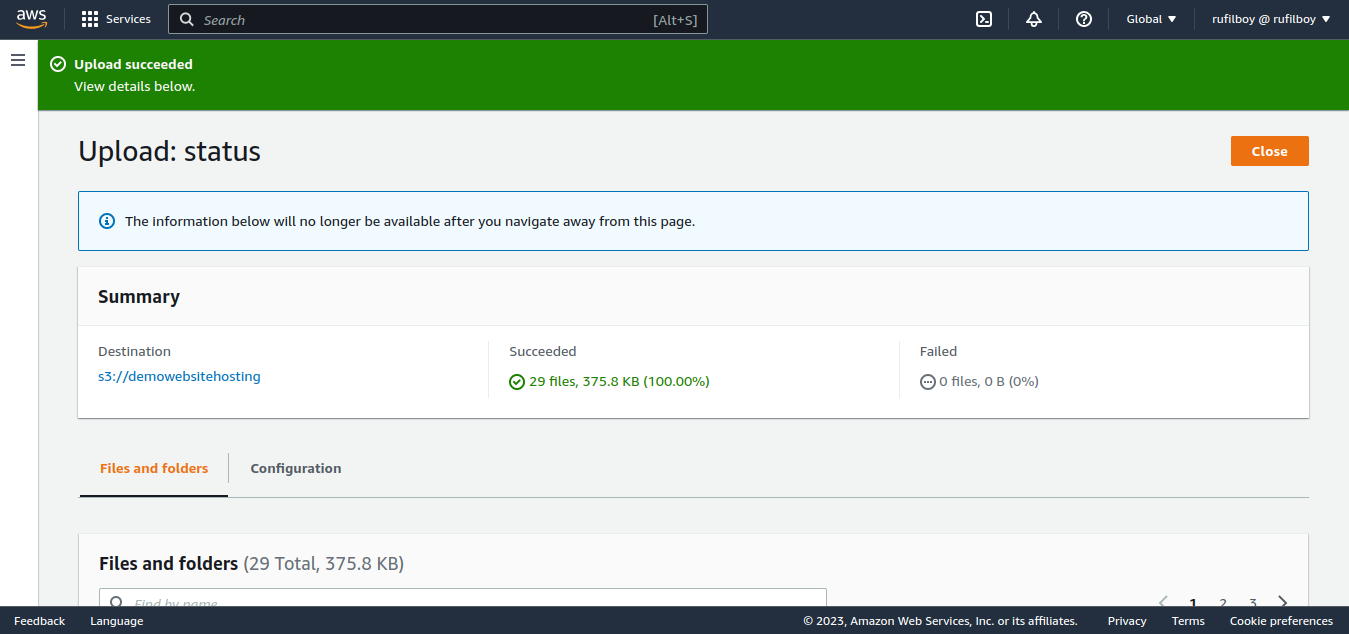
Now let’s upload our static website files;


If your upload was successful, you’ll see something like this!
We now have our static website files in our s3 bucket, it’s time to enable website hosting for this bucket!
Enabling website hosting, navigate to the bucket properties, and scroll down! Until you see “static website hosting”, then edit;

Enable static website hosting with default “Hosting type” => “Host a static website”

Input index.html in the “Index document”, don’t forget our index.html file is in our bucket root.

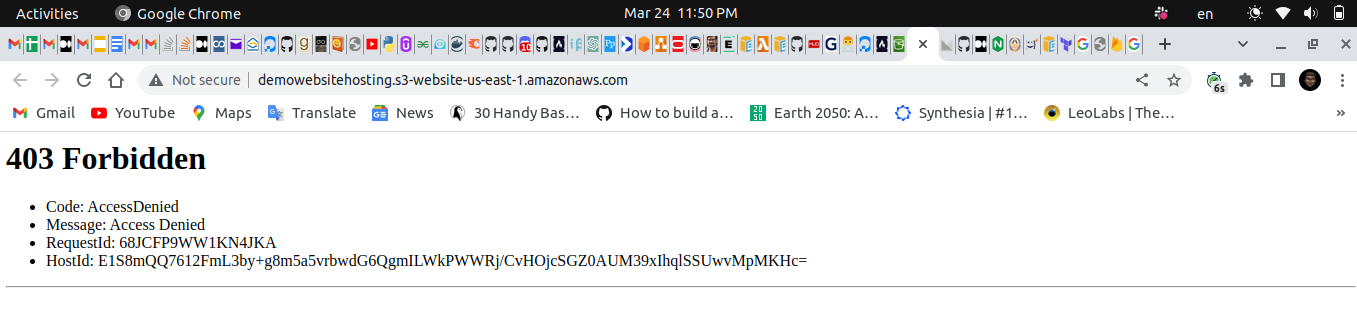
Save changes, and you’ll now see that you’ve been provided with a link! That’s our website endpoint, let’s try to access it from the browser and see if our website is live and accessible.

Were you able to access it yet? Nope! I wasn’t able to either, the only thing we need to do now is to grant our bucket access permission by adding bucket policy.
Go to permission and edit Bucket Policy, add this code to your bucket policy;
{
"Version": "2012-10-17",
 "Id": "PutObjPolicy",
 "Statement": [
 {
 "Sid": "AddPerm",
 "Effect": "Allow",
 "Principal": "*",
 "Action": "s3:GetObject",
 "Resource": "arn:aws:s3:::your-bucket-name/*"
 }
 ]
}

Save it and you should see something like this. Then go back to your browser and reload!

Boom🚀🚀🚀 We did it, our site is live!

If you want to use a custom domain name for your website, you can configure it by creating a Route 53 hosted zone, setting up an S3 bucket endpoint, and creating a record set.
That's it! Your static website is now hosted on AWS S3 and can be accessed by anyone with an internet connection. AWS S3 offers high availability, durability, and scalability, making it an ideal choice for hosting static websites.